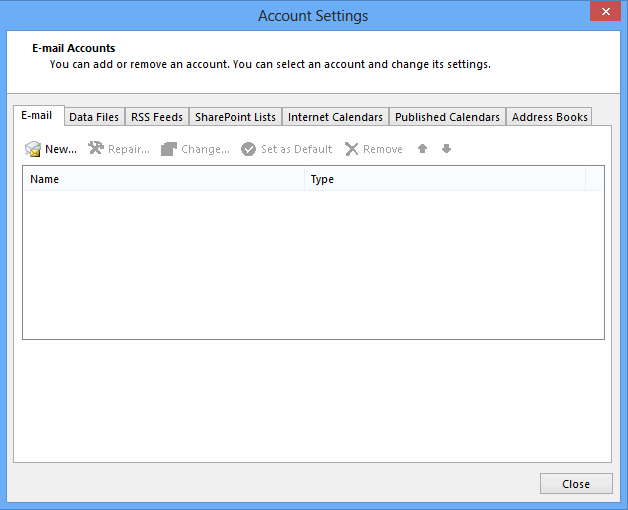
1- Open Account Settings.
- In Outlook 2013 or 2016 go up to the upper left and click File, then go to Info - Account and Social Network Settings - Account Settings to open the Account Settings window.
- Click the Email tab if not already selected.

2- Setup an account.
- Click the New... button.
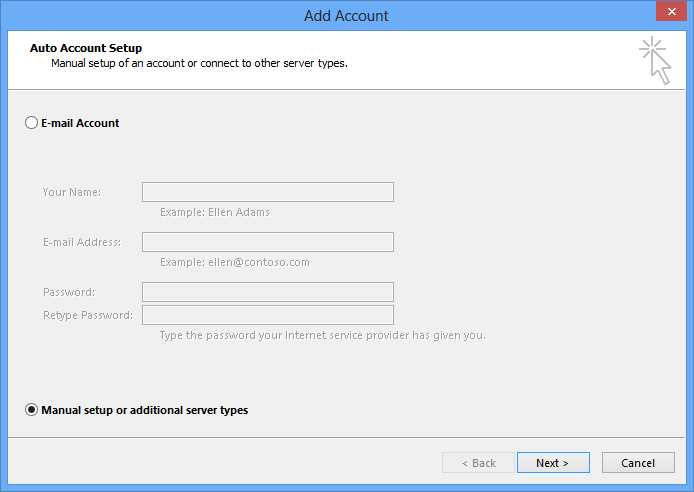
3- Auto Account Setup.
- Select Manual setup or additional server types and click Next.
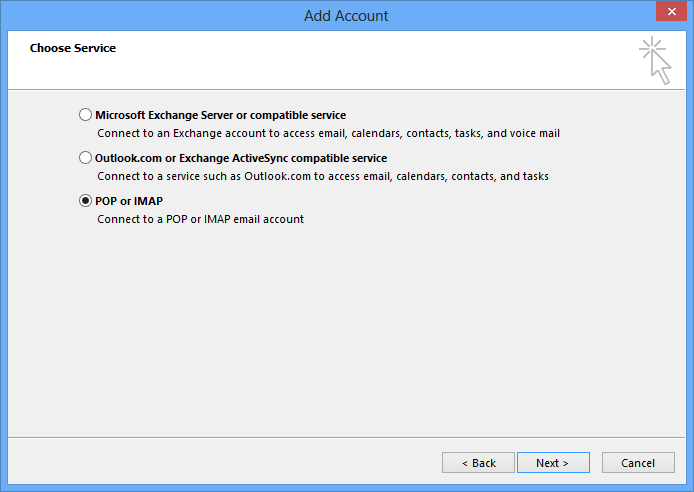
4- Choose an email Service.
- Select POP or IMAP and then click Next in the Add Account window.
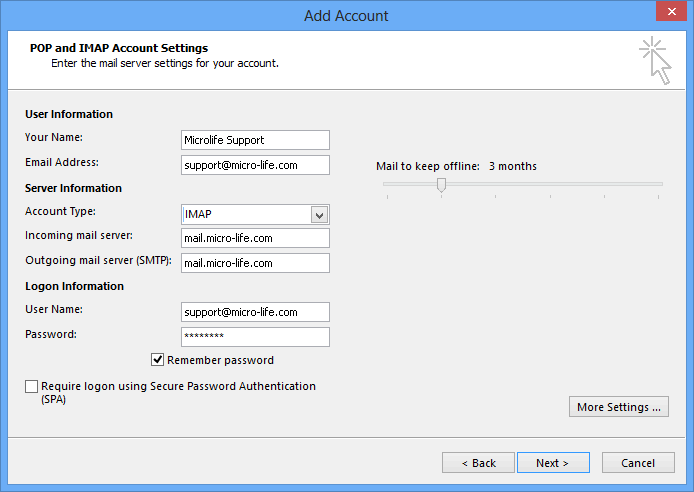
5- Enter your Internet email settings.
- Enter the following in each field:
- Your Name: your full name, including spaces and capitalization
- Email address: your full EMail like support@micro-life.com
- Account Type: IMAP
- Incoming mail server: enter mail.micro-life.com with change micro-life.com to your domain
- Outgoing mail server: enter mail.micro-life.com with change micro-life.com to your domain
- User Name: enter your full EMail like "support@micro-life.com"
- Password: enter your EMail password
- If you check the Remember password box. Outlook will not request it each time you log on.
- If others use your computer, it's safer to enter your password each time you check mail. You need your password if you make changes or reinstall Outlook.
- Select More Settings ...
6- Internet email settings - Advanced.
- Click the Advanced tab.
- Select SSL from the drop-down menu for Use the following type of encrypted connection under Incoming Server (IMAP). The port number will change from 143 to 993.
- Select SSL from the drop-down menu for Use the following type of encrypted connection under Outgoing Server (SMTP).
- Enter 465 in the outgoing server (SMTP) field.

7- Internet email settings - Outgoing Server.
- Click the Outgoing Server tab in the Internet Email Settings window.
- Check My outgoing server (SMTP) requires authentication.
- Select Use same settings as my incoming mail server.
- Select OK and Next

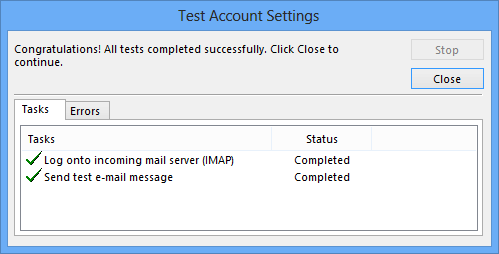
8- Test Account Settings.
- Once Log onto incoming mail server (IMAP) and Send test email message tests are completed, click Close.
- Click Finish